Tinkernut Labs


  • How To Get A Super Cheap Windows 8 Tablet

    November 30, 2012 // davisde // Software Tips Tags: 8, android, apple, cheap, eight, ios, ipad, iphone, ipod, nook, rt, screen, super, swipe, tablet, touch, windows 5 Responses


    Want to try out the Windows 8 tablet functionality, but don’t want to dish out hundreds of bucks for the Microsoft Surface Tablet? Use this simple hack to turn any Android or iOS touchscreen device into a functional Windows 8 tablet.


    Links used in the video:

    http://goo.gl/PxPY0

    http://goo.gl/BIpZl

  • Make A Media Center For Less Than $40

    October 6, 2012 // davisde // Computer Hardware Tags: android, apple, center, cheap, computer, device, games, ios, ipad, iphone, media, movies, music, pi, portable, raspberry, server, smartphone, stream, television, tv, xbmc 6 Responses


    Learn how to make a Media Server using a $35 raspberry pi device and XBMC.


    http://wiki.xbmc.org/index.php?title=Raspberry_Pi


  • Turn Photos Into 3D Objects

    June 9, 2012 // davisde // Multimedia Tips Tags: 3d, app, convert, ipad, make, photography, photos, Pic, pictures, printing, software, tinkernut, tips, tricks, tutorial 6 Responses


    Learn how to take 2D photos and automatically convert them into 3D models and them print them out as 3D objects.
    To download the project files, please visit the project page here:
    http://www.tinkernut.com/wiki/page/Episode_319
    Download links used in the video:
    123D Catch – http://www.123dapp.com/catch
    MeshMixer – http://www.meshmixer.com/download.html
    123D Make – http://www.123dapp.com/make
  • Make A Simple Responsive Website

    April 20, 2012 // davisde // Programming Tips Tags: android, browser, coding, devices, html, ipad, iphone, mobile, programming, resize, website 14 Responses


    [vc_row][vc_column width=”2/3″][vc_separator][venera_framed_image content_type=”video” css_animation=”appear” frame_type=”browser” slider_engine=”flexslider” video_link=”https://www.youtube.com/watch?v=RSoWg29wPVc” browser_url=”https://www.youtube.com/watch?v=RSoWg29wPVc”][vc_separator][/vc_column][vc_column width=”1/3″][/vc_column][/vc_row][vc_row][vc_column width=”2/3″][vc_tabs][vc_tab title=”About This Project” tab_id=”1402713028-1-39e9a4-2f88123b-77946048-92947b1b-34c3″][vc_column_text]

    A responsive website is a website that changes it’s size and shape so that it can be viewed properly on any device. This is a tutorial that shows you the steps on how to make your own responsive website. Before jumping in, it’s best to watch my beginners guide to HTML and CSS at the links below.

    • Part 1 – HTML
    • Part 2 – CSS

    [/vc_column_text][/vc_tab][vc_tab title=”Code” tab_id=”1402753910272-3-8123b-77946048-92947b1b-34c3″][vc_button title=”View sample Site” target=”_blank” icon=”none” size=”btn-huge” href=”http://tinkernut.com/demos/315_responsive/index_responsive.html”][vc_column_text]

    How Does A Responsive Website Work?

    A new addition to CSS3 is an element called a Media query, so if you haven’t already, take a look at my CSS tutorial before continuing. A media query allows CSS code to be executed only when certain constraints are met. For instance, you can set the media query to turn the background color of the webpage blue only when the browser size is 480px. So using media queries, you can have several different sets of CSS for your website that can be activated for many different devices or any browser sizes.


    How To Create Media Queries

    Media Queries are elements of CSS3, so they go in the CSS portion of your webpage. Normally the CSS is located in the header using style tags. To create a media query, just add the code below to your CSS:

    <style>
    @media {
    }
    </style>
    

    Then after the @media declaration, you can set the parameters you want to target, such as browser size or device size. For browsers, you can use the max-width attribute. For devices, you can use the max-device-width attribute. To set the media parameters in between a maximum value and a minimum value, you can use both the max-width and min-width attributes within the same parameter.

    <style>
    @media screen and (max-width:480px){
    }
    </style>
    

    This is an example of a max and min parameter:

    <style>
    @media screen and (max-width:800px) and (min-width: 480px){
    }
    </style>
    

    The only thing left to do now is to add your own custom CSS code in between the curly brackets. The CSS can be minimal changes, or you can completely change the design and makeup of the entire site. How much or how little is completely up to you.

    <style>
    @media screen and (max-width:480px) {
         div.main{
    	width:300px;
         }
         div.row2col1{
    	font-size:0.5em;
         }
         img{
    	width: 250px;
         }
         p.welcome {
    	font-size:0.8em;
         }
         p.content {
    	font-size:0.7em;
         }
    					
    }
    </style>


    Sample Website Code

    Below is a finished copy of the webpage code used in the video:

    <html>
    	<head>
    		<title>My Data</title>
    		<style>
    			b{
    			color:#000000;
    			}
    			a{
    			text-decoration:none;
    			color:grey;
    			}
    			img{
    			display:block;
    			margin:auto;
    			}
    			p.welcome {
    				text-align:center;
    				font-family: “verdana”;
    				font-size:1.875em;
    				color:white;
    				font-style:bold;				
    			}
    			p.content {
    				font-family: “verdana”;
    				font-size:1em;
    				color:white;
    				font-style:italic;				
    			}
    			div.main{
    				width:50%;
    				margin:auto;
    				background:#251111;
    			}
    			div.row1{
    			width:100%;
    			}
    			div.row2{
    			width:100%;
    			}
    			div.row2col1{
    				float:left;
    				margin:0;
    				padding:1em;
    				color:white;
    			}
    			div.row2col2{
    				margin-left:25%;
    				background-color:#0A1616;
    				padding:1em;
    				border:15px solid #251111;
    			}
    			body{
    				background-color:#393635;
    				color:white;
    			}
    			@media screen and (max-width:480px) {
    					div.main{
    						width:300px;
    					}
    					div.row2col1{
    						font-size:0.5em;
    					}
    					img{
    						width: 250px;
    					}
    					p.welcome {
    						font-size:0.8em;
    					}
    					p.content {
    						font-size:0.7em;
    					}
    					
    			}
    			@media screen and (max-width:800px) and (min-width: 480px) {
    					div.main{
    						width:600px;
    					}
    					div.row2col1{
    						font-size:0.7em;
    					}
    					img{
    						width: 400px;
    					}
    					p.welcome {
    						font-size:1em;
    					}
    					p.content {
    						font-size:0.8em;
    					}
    					
    			}
    		</style>
    	</head>
    	<body>		
    		<div class="main">
    			<div class="row1">
    				<img src="logo.jpg"/>
    			</div>
    			<div class="row2">
    				<div class="row2col1">
    					Navigation
    					<hr align="left" width=75%>						
    						<ul>
    							<li><a href="about.html">About Me</a></li>
    							<li><a href="http://www.google.com">Google</a></li>
    						</ul>
    				</div>
    				<div class="row2col2"><p class="welcome" >Welcome to my data page!</p><p class="content" >This page is a work in progress that will eventually show places for data input, as well as data recall. Check back here for updates and more information! Thanks for visiting!</p>
    				</div>
    			</div>
    
    		</div>
    		
    	</body>
    </html>


    [/vc_column_text][/vc_tab][vc_tab title=”Important Links” tab_id=”1402753981900-3-10123b-77946048-92947b1b-34c3″][vc_column_text]

    Important Links:

    • Part 1 – HTML
    • Part 2 – CSS
    • Browser Sizing Utility
    • Browser Testing Tool

    Help support my channel:

    • http://www.patreon.com/tinkernut
    • Follow Tinkernut! Google +
    • Facebook
    • Twitter

    [/vc_column_text][/vc_tab][/vc_tabs][/vc_column][vc_column width=”1/3″][/vc_column][/vc_row]

  • Partner Project 13: Mobile Apps

    January 5, 2012 // davisde // Partner Project Tags: ads, android, apps, become, cell, earn, famous, follow, gigafide, guide, how, ios, ipad, iphone, ipod, learn, mobile, money, names, partner, phone, popular, project, revenue, secrets, smartphone, statistics, stats, steps, tablet, tinkernut, to, Video, youtube 5 Responses


    In part 13 of the Partner Project, we discuss different options for making your website or Youtube channel mobile by showing you paid and free options for making mobile apps for your content.

    For those interested in coding your own apps from scratch, here’s the links to the individual developer portals for each phone:

    For Apple: http://developer.apple.com/ ($99)
    For Android: https://market.android.com/publish ($25)
    For Windows Phone 7: http://create.msdn.com/en-US/ ($99)
    For Blackberry: http://us.blackberry.com/developers/ ($0)
    And forJava Phones (which is essentially all dumb phones): http://www.oracle.com/technetwork/java/index-jsp-135888.html ($0)
    And here’s the free App creator programs available:
    AppInventor (Android): http://info.appinventor.mit.edu
    Andromo (Android): http://www.andromo.com – splits add revenue with you 50/50
    AppMakr (Android, iOS, WP7): http://www.appmakr.com
    Conduit (All Smartphone Platforms): http://mobile.conduit.com – splits add revenue with you after your app becomes popular
    If you’re using the app for a Youtube channel, here’s an extra tips to help you along:
    To embed your Youtube Channel as an RSS feed, use this format:
    feed://gdata.youtube.com/feeds/users/YOUR_CHANNEL/uploads
    Where YOUR_CHANNEL is the name of your Youtube channel.
  • How To Hack The Nook Color

    November 8, 2011 // davisde // Computer Hardware, DIY Projects Tags: android, froyo, hack, ipad, mod, nook, tablet, tinkernut, tips, tricks, tutorial 22 Responses


    <center></center>

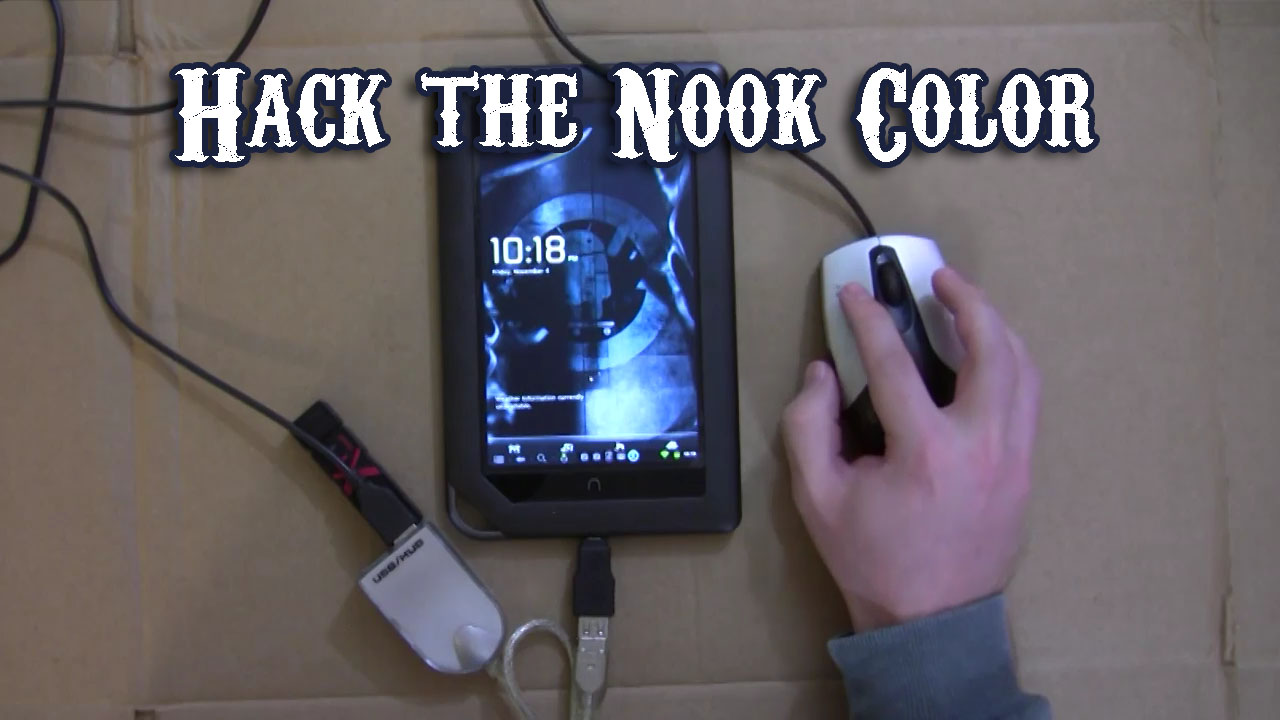
    Take a Nook Color from Barnes & Nobel and turn it into a super-tablet with some pretty amazing features.

    https://launchpad.net/win32-image-writer
    http://mrm3.net/nook-color-updated-clockwork-recovery-bootable-sd
    http://wiki.cyanogenmod.com/wiki/Latest_Version

  • Print from your Cell Phone or iPad

    November 15, 2010 // davisde // Featured Articles, Hacks Tags: cloud, free, ipad, iphone, mobile, phone, print, printer, printing, smartphone, tinkernut, tips, tricks, tutorial, wireless 71 Responses


    In this episode, we discover how to print to your home printer from anywhere using your mobile device, including most smartphones and the iPad.

    Google Cloud Print: http://code.google.com/apis/cloudprint/docs/overview.html
    Dropbox: http://www.dropbox.com
    Droppedbox (Windows Mobile): http://forum.xda-developers.com/showthread.php?t=687534
    E-print (for Windows): http://img.labnol.org/files/e-print.zip
    E-print (for Linux): http://www.labnol.org/software/print-files-on-linux/17841/
    E-print (for Mac): http://www.labnol.org/tech/print-files-on-remote-mac/17838/